
Recently, we have been having a lot of discussions about the usefulness of various areas of our website and site template. As part of that discussion, we naturally decided that we needed to gather some data before we could make any kinds of decisions.
There were a handful of things we wanted to track throughout the site.
Getting Started
Before we started setting up any event tracking on specific areas of the site template, though, we needed to make sure our Analytics were ready to begin tracking events. To do so, we needed to make sure that Analytics was already instantiated on the page, and that we had access to modify it. The code to do so looked something like the following.
Once we made sure we actually had access to the Google Analytics object on a page, we started setting up the event tracking.
Helpful Links
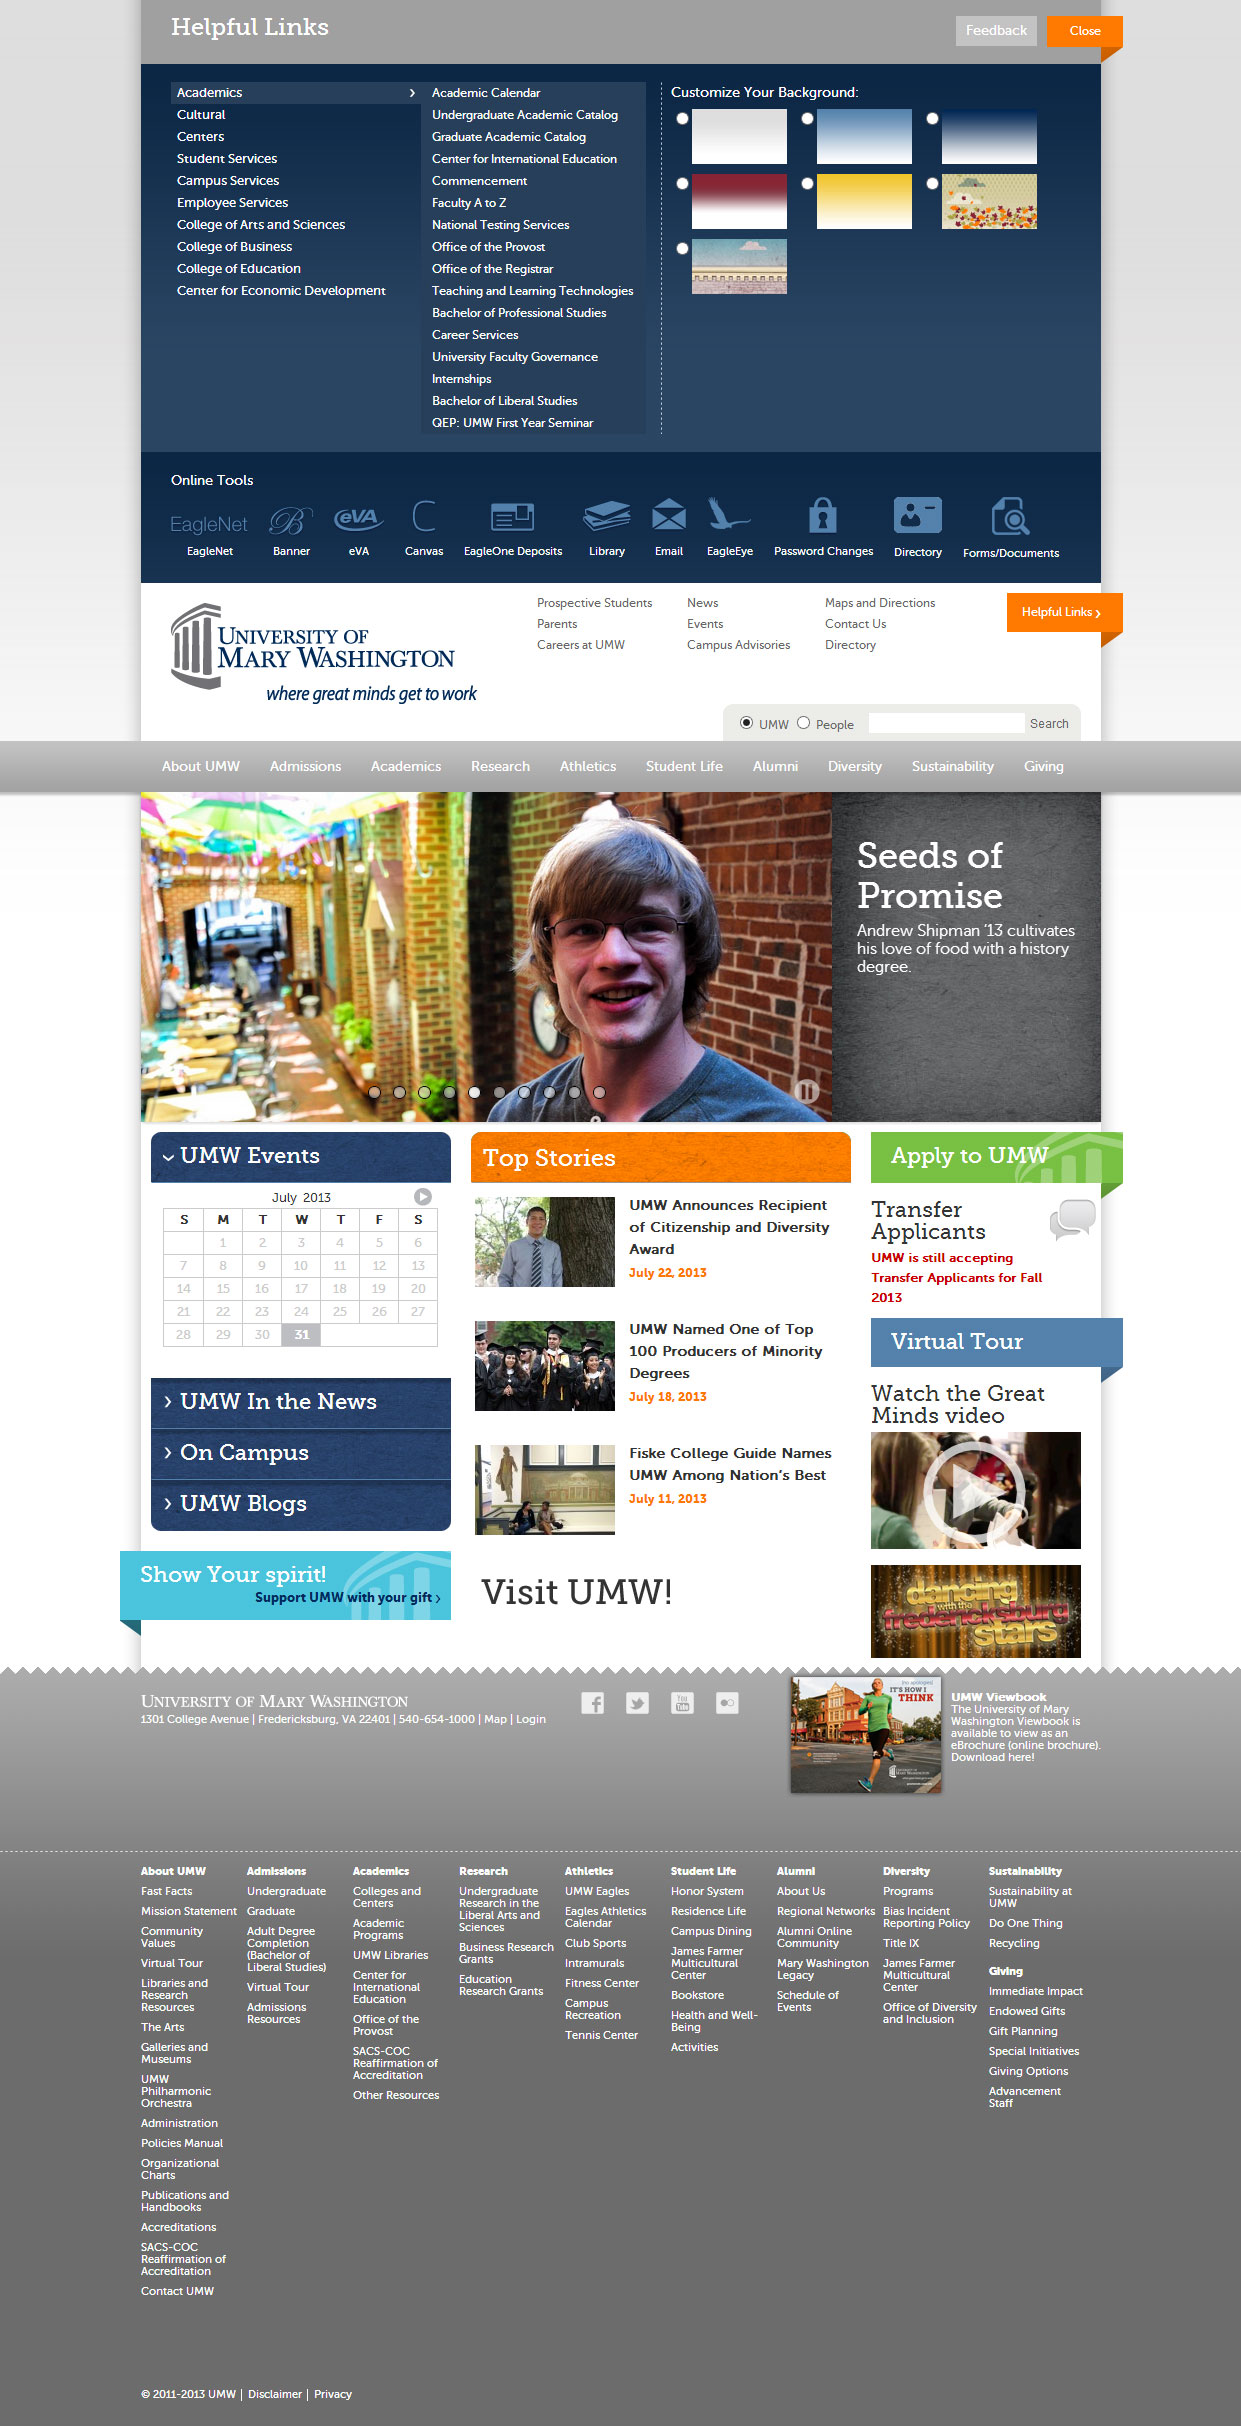
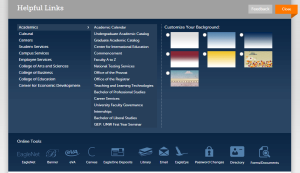
We have a “Helpful Links” section at the top of every page. We wanted to track how many people were using those links to access the resources linked within. The Helpful Links section is divided into two distinct sections, with a few extraneous links outside of either section. To track all of these clicks, I set up an “Event Category” for “Helpful Links”; I set up three separate “Event Actions” for “Resource Links”, “Online Tools” (the icon links) and “Other Helpful Links” (the one or two links – such as the “Feedback” link – that occur outside of the other two areas).
In our case, the entire Helpful Links section is contained within an element with the ID of “umw-help-center-content”; the online tools are contained within an element with a class of “umw-help-center-tools” and the main resource links are contained within an element with a class of “umw-help-center-panel”. Therefore, it was easy to set up event tracking for these links.
The code above allows us to track all clicks within the “Helpful Links” section of the template under a single “Action”, while it separates those clicks into three separate “actions” (or sub-categories), and assigns a unique label to each individual link.
Footer Links
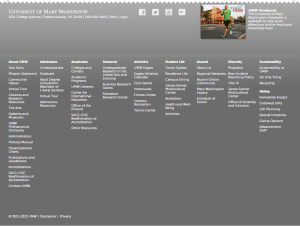 Next, we wanted to see how many people were using the various links in the template footer. On the UMW website, we have a handful of different areas within our site footer. We have a mega footer on all of our top-level sites. That mega footer includes a large navigation menu with links to many of our top-level sites and pages; it also includes a thumbnail and link to our viewbook (and, on some pages, that viewbook link is swapped out with a link to an international version of the viewbook). Throughout the entire website, the footer includes some basic links to our home page, our main social networking accounts, our privacy policy, our campus map, etc.
Once again, we decided to split the event tracking into three separate “actions”: “Viewbook Link”, “Mega Footer Navigation” and “Global Footer Links”. We used code very similar to the code shown above, but, in this case, we had to look for links inside of the main footer element with an ID of “footer”, and then separate them based on their location inside of either the element with a class of “umw-viewbook” or an ID of “umw-footer-nav”. The code we’re using to track the footer links looks similar to the following.
Once again, that code determines where the link is within the footer, and assigns the appropriate “action” to it. In this case, it assigns the “category” of “Footer Links”. In most cases, the text of the link is used as the “label”, but, in the case of the Viewbook link, we decided to use standard labels of “Standard Viewbook” or “International Viewbook” in order to avoid potential data splits when the year is changed.
Header Links
Another area we wanted to track was the list of links in the header of our top-level sites. There are nine separate links that appear in the header of all top-level sites and pages, and we wanted to know whether or not people were using them. In this case, there is only one section we’re tracking, so we set a consistent category and action for all of the links, then used the link text as the label. The tracking code for that area looks like the following block.
Home Page Clicks
Once we finished setting up all of those global event trackers, we also wanted to focus some attention on the various areas of our home page. Our home page is made up of a series of various widget areas.
Slideshow
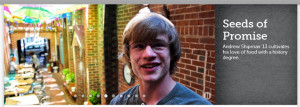
At the top of our home page, we have a slideshow. The slideshow, as with most slideshows, includes images with captions, and each one links out to a different story. On our home page, the order of the slides is randomized through JavaScript, so they appear in a different order every time the page is loaded.
We decided we wanted to track a few different things on our slideshow. First of all, we obviously wanted to see how many people were actually clicking on anything within the slideshow. Next, we wanted to know which stories people were clicking through to read. Finally, we also wanted to know where in the slideshow that particular story was when they clicked on it (was it the first slide, the second slide, etc.).
To set this up, because our slideshow’s order is randomized through JavaScript, we had to delay the setup a little bit. Our JavaScript has to wait until the slideshow’s JavaScript has run before we could attach the event trackers to it; otherwise, we would end up with the slide order being wrong – the ordinal numbers would be attached the way the slideshow was originally built in HTML, rather than the way it was shuffled with the JavaScript.
Therefore, we took this particular block of code out of the normal jQuery( function() {} ); call that the rest of the event tracking commands are in, and put it inside of a traditional JavaScript document.body.onload event instead. The code for our slideshow tracking looks like the following.
Basically, this code finds all of the list items with a class of “slide” on the page, then sets up a few variables. The event category is set to “Home Page Slideshow” for all slides, then the title of each individual slide is used for its event action. Finally, the order in which the slide appeared in the slideshow is stored as the event label. This allows us to see generically how many people clicked on the first slide, the second slide, etc.; it allows us to see generically how many people clicked on each story; and it allows us to combine those two metrics to see how many people clicked on each individual story while it was in a specific position within the slideshow.
Widget Areas
Below the main slideshow, the UMW home page includes three basic widget areas. Those widget areas are used to display all types of content, from lists of posts, to event calendars, to one-off links, etc. We wanted to track each of those links to see how many people were using each of them.
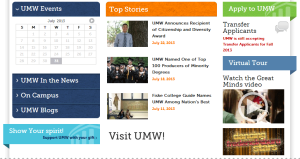
In this case, since they are standard widget areas, it was easy to separate them out into various sub-categories (event actions). The event category is set to “Home Page Links”, the event action is set to the title of the widget itself, and the event label is set to the text of the link. In this case, however, there were a few widgets that used linked images rather than text, so we had to set up a contingency for those. If the image is used as part of “recent posts” type of list (such as the “Top Stories” widget shown in the screen shot), we search for the nearest title and use that text to identify the link; if the image stands alone, we use the alt attribute for the image. This tracking code looks like the following block of code.
Common App
There was one other event we wanted to track on the UMW website. Actually, this was the first event we set up; we initially set this event tracker up in January 2012. Regardless, since we’re tracking those events, I figured I should include them in this post. At UMW, we use the Common App for all undergraduate applications to the University. Since the Common App is not hosted locally, and we have no real control over the code that goes into it, we couldn’t do any sort of traditional funnel/goal tracking the way you would with an eCommerce site. Instead, we have to use event tracking to see how many people are clicking through to the Common App, then anecdotally compare those figures with the number of applications we receive.
This event tracking is a little less sophisticated than the other event tracking we’re performing. Since all of the links lead to the same destination, we didn’t really have a need to split them out into separate “actions” and “labels”. Instead, we’re using a common category, action and label for all click-throughs to the Common App.
Within the code, shown below, we’re looking on every page of the site for any links that link out to commonapp.org, then adding event tracking to them with the category of “Applications” and the action of “CommonApp”, with no label applied.
Other Tracking
Outside of event tracking, we had one last change we needed to make to our Analytics tracking. Since we use multiple sub-domains throughout our site, we needed to make sure that Analytics didn’t count clicks back and forth between the domains as exits and entrances. To avoid that, we added some code that would inform Analytics that a link is leading to another area on our site. Basically, with some PHP code, we output a list of all of the domains in our WordPress installation as a JavaScript object (essentially an associative array). The host names are used as the keys in the object in order to make it easier to search for those items within the object; the site IDs are used as the values in the object, basically just to provide something to be used as the value of each item in the object.
Then, within our JavaScript, we put together a function that looks for all links that link out to other subdomains in our system, and adds some extra information to them. That JavaScript looks like the following.
Putting It All Together
Once we put all of that together, we have a pretty nice Analytics set up for ourselves (some other time, I’ll get into setting up your Analytics account to actually include the host name in your reports, so you don’t end up with all of your various “About Us” pages being tracked as a single page). We are now able to see realistic information about our bounces and our exits, we’re able to see how many people are clicking through to apply at UMW, and we’re able to see a bunch of information about how people are interacting with various elements of our template and our home page. Soon, I’ll share some of the early results of the new event tracking we implemented.
If you’re interested, the entire JavaScript file looks something like the following.
The PHP code we use to set up Analytics, and to pull the list of internal domain names, looks like this:

This is great info. I am trying to do something similar on a wordpress site hosted at GMU. Just want to track clicks on the slides in slideshow. I am not sure where in the WP install and php files to put the script just related to the slideshow. We have GA set up, and I just put the snippet for the slideshow inside a tag in the header.php file. GA tracking is in the footer already. I am so NOT a developer, so if you could give me instructions for a novice, I would greatly appreciate it!